Showing posts with label personal. Show all posts

Tuesday, May 31, 2016

Angels in Disguise


Do horses have a morning ritual? I take my daughter to school at the same time each morning, and I drive by several pastures of horses. Each day, the horses line up side by side and appear to all be looking at something off in the distance. It's like the scene from that Nic Cage movie where the angels gather on the beach to watch the sunrise. Perhaps horses are angels?

A little while ago, my cat of eleven years crossed the Rainbow Bridge. She had been sick for about a week, and in my heart I knew there was a good chance she wouldn't be around much longer. As prepared as I thought I was, I still found myself crying uncontrollably when the inevitable came to pass. Afterwards, my eyes would well up at the tiniest thought of her.

I had a riding lesson scheduled for the afternoon on the day she passed away. Feeling I needed a distraction, I resisted the urge to cancel it. When I arrived at the ranch, my instructor told me to tack up Jupiter. My nerves quaking, I went to Jupiter's stall, put on his halter, led him out to the cross ties, and started our pre-ride routine. I'd ridden Jupiter before, but he can be difficult for an inexperienced, unassertive rider like myself. Still, I like Jupiter. He has lots of personality, is affectionate, and makes me laugh by using me as a napkin.

As I was grooming him, Jupiter brought his neck around and nudged me. A playful horse, he often does this. I turned to face him. "What?" I asked, amused. Jupiter responded by placing his face on my chest and standing still and quiet. I hugged him around the neck; it seemed like the thing to do. We just stood there for a few minutes, he with his face buried in my chest, and I with my arms around him. All my sadness melted away. I finished grooming and tacking up, and we had a great lesson. After that, I was fine.

Perhaps horses are angels after all, and my angel thinks I'm a Kleenex.


Monday, March 24, 2014

Ready for Spring

March is nearly over here in big sky country, but spring has yet to get settled in. It seems like each time spring gets its foot in the door, winter comes over and stomps on it. We were blessed with mid-50 temps here a week ago, now it's below freezing. The same thing happened a few weeks ago. I'm honestly not sure what to make of it.

In spite of all this, I have still started my seedlings indoors. I made a colorful yarn wreath, filled my bird feeders, painted a lovely picture of rolling hills covered with flowers, and baked sugar cookies in the shape of flowers. I'm trying to will spring to come, because I'm ready to be outside. My skin is dry and pasty white; it needs to feel the sun's warmth. I long for green in my garden. I'm very curious if the apple trees in my yard will be beautiful. I'm also looking forward to exploring my town when the weather is fine, when there's time to linger and enjoy discovering a new place, instead of hurrying in from the cold.

Anyway, guys, I'm hoping to get some more pics up soon of what we're up to around here. Stay warm, friends, and repeat after me: winter won't be around forever.

Wednesday, March 12, 2014

Wanting to Do Something

I have the desire to craft, and no idea what I want to do. I think to myself, "Maybe I'll paint a picture." However, that doesn't feel like what I want to do. I think, "How about a quilt?" Still, that doesn't seem like it. Refashion an outfit? Nah. Scrapbook? Uh-uh. Update my nightstands? No dice.

What should I do, my friends? I have no idea, and I'm frustrated.

Sigh.

Monday, March 3, 2014

Tumblr

Guess what? I now have a tumblr blog! I'm going to be really cliche with it, posting pics and quotes that make me look worldly and witty, or at least that's the plan for now. Mainly it's going to be stuff that's positive and happy that I enjoy, which is why my description for it is, "My happy place on the web." So if you like cute animals, scenic photos, and clever quotes, be sure to check it out here: amccrescentmoon.tumblr.com

Friday, February 28, 2014

Ikea Envy and the Cost of Things

So lately I've been having a bit of what I call "Ikea envy." It is a condition where, upon seeing the cool stuff you can do with Ikea products, you feel sad and a little jealous of people who are blessed to live near an Ikea. Have you seen all the fantastic "Ikea hacks" - the ones where people take a cheap piece of furniture, such as the RAST dresser ($34.99), and turn it into something that looks like a million bucks? Seriously, if you haven't seen them, take a minute and Google it. They're insanely clever, and right up my alley. Unfortunately for me, the closest Ikea is over eight hours away in Utah, and their shipping rates are exorbitant, so I'm stuck with a creative itch I can't scratch.

At any rate, the whole reason I have this creative itch is because I've been bitten by the design bug. I guess it's just living in a new space that has me wanting a change, or it could be that I've had the same old stuff for years now and I would like something new. A lot of the things I have, while not bad, where either inexpensive things bought in a hurry, or they were hand-me-downs given to us to fill a specific need we had at the time. Combine that with the fact that quite a few of my possessions got pretty beat up in this last move, and I'm feeling the need for something different.

That being said, I can't just go out and buy all new things because my husband and I are attempting to become debt-free in the next two or three years so we can begin saving for a down payment on the dream house we want to build. I have to make what I have last for now. However, it isn't just that. More and more I'm coming to realize that all those homes that I admire on Pinterest and in the magazines aren't furnished with particle board furniture from big box stores. The homes that dazzle me most are filled with family heirlooms, lucky flea market or yard sale finds, tirelessly sought for antiques and vintage pieces, and high-end quality stuff made by people who give a damn about their craft. That's what I want, and that kind of look takes time. If I try to rush it, I'm going to end up disappointed. So for now, I'm going to bide my time, and make due with what I have. So that means getting crafty.

**WARNING: SMALL RANT AHEAD**

I'm realizing lately that I am out of touch with how much things cost in general. The other day I hit up my local home improvement store for the things I need to spruce up my nightstands, and I suffered some serious sticker shock (say that five times fast) at the price of paint. It was the same at every store I checked. I also browsed my local craft store and did some internet searching for fabric, but by the time I was done, I was ready to cry. Who pays $99 a yard for fabric?! And I love me some Pottery Barn, but I think that $40-$60 might be a bit much for throw pillows. Now if you want the real kicker, Anthropologie has these nifty rough amethyst 4x6 inch picture frames for - wait for it - $548. A frame that holds a FOUR INCH BY SIX INCH picture. If you like these frames, I'm going to tell you a secret: buy the stuff you need to make this on Etsy, it will cost you about $30, maybe $40, depending on shipping. There. I just saved you $518. Seriously though, who is buying this stuff? It isn't me, or anyone I know. And listen, I know I'm a cheapskate, but I honestly DO NOT KNOW a single person who could afford to spend five hundred dollars on a tiny picture frame. The people I know have to do number crunching if they want to buy a decent sofa or a USED car, but that's the people I know, and granted, I don't know many. It just gets me how much things can cost, and what some places consider reasonable prices. Kind of like when Better Homes and Gardens does an article on small kitchens, and the kitchens they show are bigger than my living room. I've had a 10'x10' kitchen that also served as my dining room. It truly had only enough counter space to make a sandwich, yet I cooked meals and baked desserts for a family of three in it. Until BHG shows me a kitchen like that, I'm not inclined to give them much credibility. So when I see stuff advertised as affordable home decor, I bristle up a bit when they show things it would take my husband's whole paycheck to buy.

Anyway, I'm done rambling for now. I appreciate you putting up with my musings. I promise less rant, more awesomeness for the next post. See ya!

Monday, February 24, 2014

Westward, Ho!

So, I know I haven't talked much about it, but I thought I might share some photos from our journey westward to Big Sky Country. I didn't get a lot of photos because I was driving, but I got enough to sum up our journey.

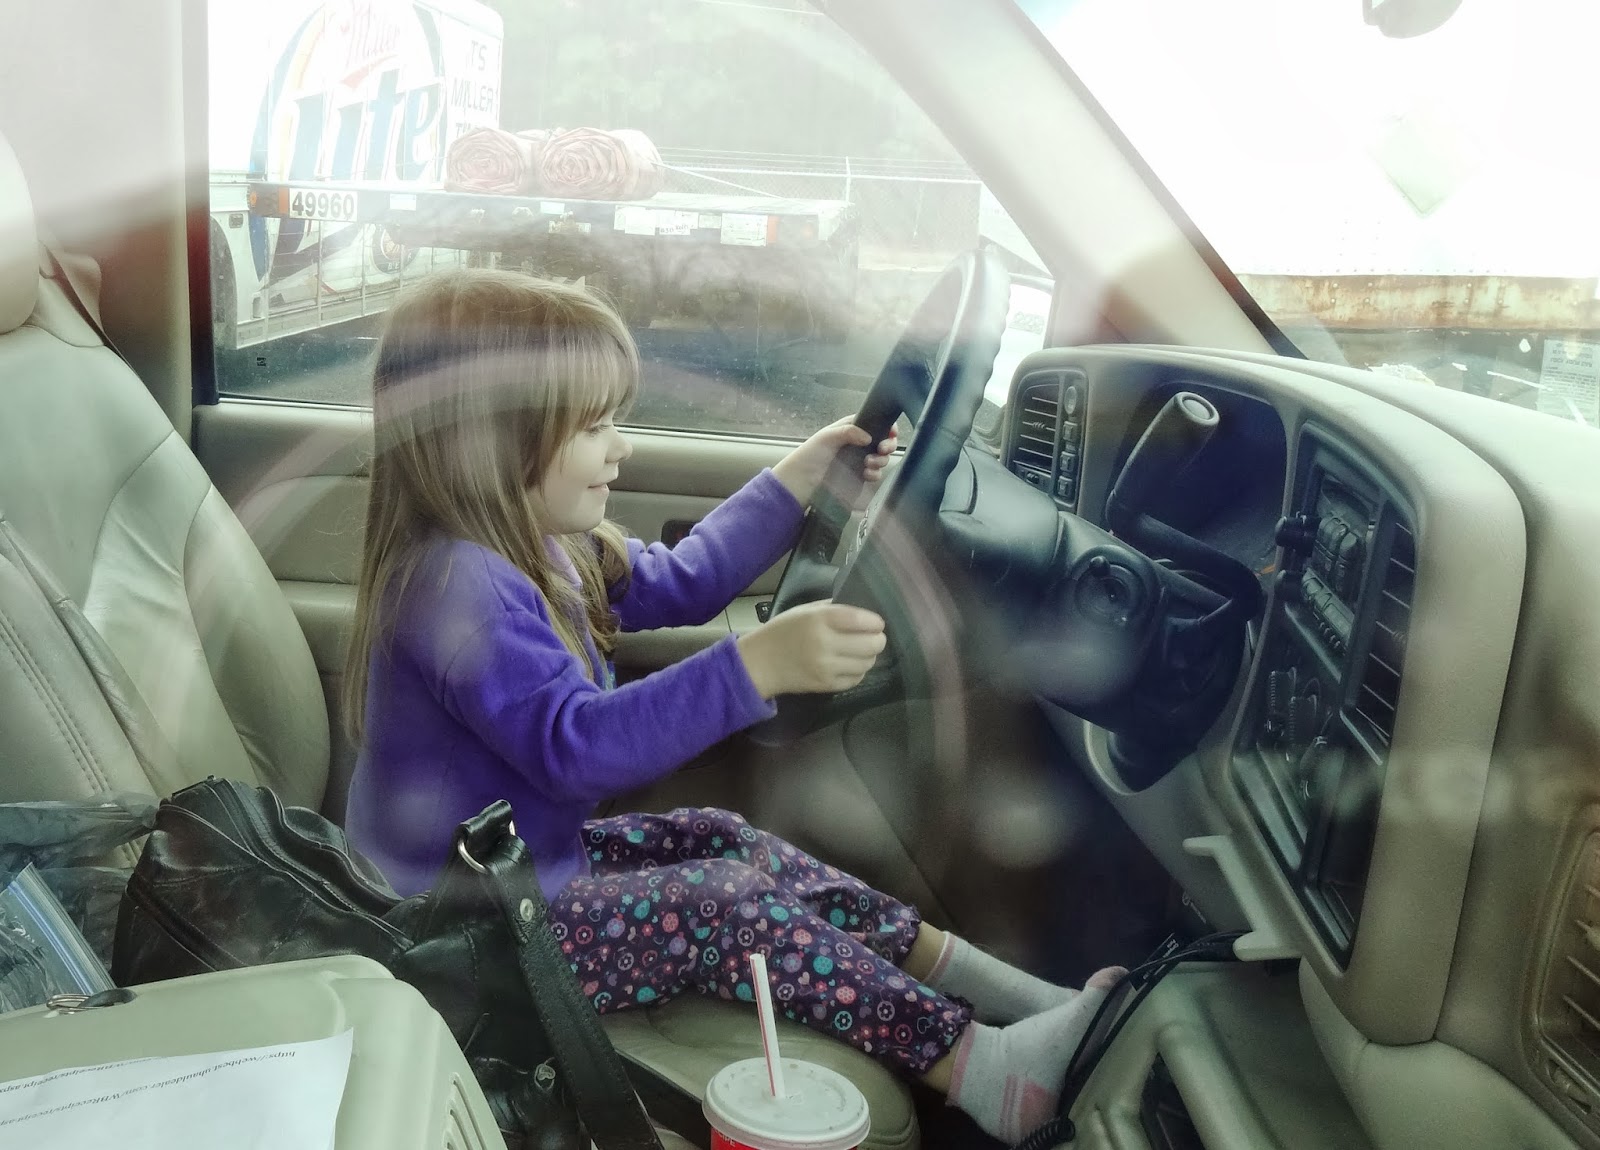
This is my little one pretending to drive while we were stuck at the auto repair place in Augusta, GA. Word to the wise, rent something other than a U-haul. I won't go into detail, but suffice to say, after about 12 hours on day one, we'd only covered a distance that usually takes just two hours. Not a good way to start the trip. Fortunately, there weren't anymore problems once we got back on the road, but by then, I was already pretty frazzled.

Day two began with us in Monteagle, TN. We woke up to LOTS of fog - like all the cliches about pea soup and hands in front of your face were completely true. While we waited for visibility to improve, we had a leisurely breakfast at the Rocky Top Restaurant. If you ever find yourself in Monteagle, you owe it to yourself to stop here. There's very good country cooking, friendly staff, and reasonable prices.


More pics from day two: the Nashville skyline, farm life in Kentucky, my tuckered out crew (traveling with a five year-old, a dog, and a cat isn't easy), and the St. Louis arch. We covered as much ground as we possibly could on day two in an attempt to make up for lost time on day one. It was pretty hard, but I really wanted to get to Montana as close to on-schedule as possible. My husband had been in Billings for the last two months, and we'd missed our 10-year wedding anniversary, Halloween, my husband's birthday, Thanksgiving ,and our daughter's 5th birthday together. When my mother in-law offered to help me move out so we didn't miss Christmas together too, I was grateful, and I didn't want to wait any longer than I had to in order to finish the journey.

 When the St. Louis arch came into view, I was a happy camper. I'd been excited to see it since I found out we'd be passing by it on our trip. However, today, the "gateway to the west's" beauty signified something else: our day of driving was nearly done, and better yet, we were halfway to Montana. Twelve hours and four states later, we stopped on the west side of St. Louis and rewarded our monumental driving efforts with dinner at Steak' n Shake.

Day three had us driving through a whole lotta nothin'. To the right is a pic of my little one at a rest stop in Iowa, getting a preview of the snow we had to look forward to. We had to trek the rest of the way across Missouri, into Iowa, and then across the vasty nothingness of South Dakota. To illustrate how little there is in South Dakota, my mom-in-law's husband, in spite of our warnings, decided to forego stopping for gas in Sioux Falls. When we began looking for gas, we finally found a little place several miles off the interstate. This town was so small, the gas station was also the town's grocery store and pizza joint!


On day four, the final day of our journey, we started out about two hours from Rapid City, SD. Over to the right you can see that vasty nothingness I was talking about. Once we got to Rapid City, we took a detour to go see Mt. Rushmore, because coming so close and not seeing it seemed like a crime. After that, we had lunch in Sturgis, SD, where my mom-in-law picked up some souvenir t-shirts at the Harley Davidson shop for her nephew and his wife, who are avid bikers. From there, we made the final push across Wyoming, and I tell you, it was beautiful. The snow on the landscape looked like someone had dusted powdered sugar over a giant donut. There were mountains, antelope, bald eagles, and more deer that I've ever seen in my life! We even got to see Devil's Tower, which is fantastic, because it is literally the only thing around for miles. I'm telling you, if you ever have the opportunity to drive across Wyoming, DO IT! Just fill up on gas first, because if you don't, you might find yourself surveying the landscape on foot with a gas can in one hand.
 This picture doesn't do them justice, but here are some of the Bighorn Mountains (I think). And to think this scenery is practically in my backyard! Anyway, after stopping in Sheridan, WY, we got back on the road and finally arrived in Billings at about 8PM. WHEW! Even though I was sleeping on an air mattress because our stuff was still in the truck, I've never slept so hard in my life.

So there you have it. Our four-day driving marathon across the ol' U.S. of A.

Saturday, December 7, 2013

Saying Goodbye - a Picture Blog

Now that we're moving across the country, I thought it would be nice to look back on the house we lived in during our last year in NC:

The neighbor's ducks
Our mutt chillin' on the front porch
Hummingbird at my feeder
Deer in the field behind our house
My flowers
More flowers
A rainbow over the cornfield next to our house
Fairy ring in the back yard

Goodbye, house!

Saturday, November 30, 2013

Picture Blog Time! More Paintings!

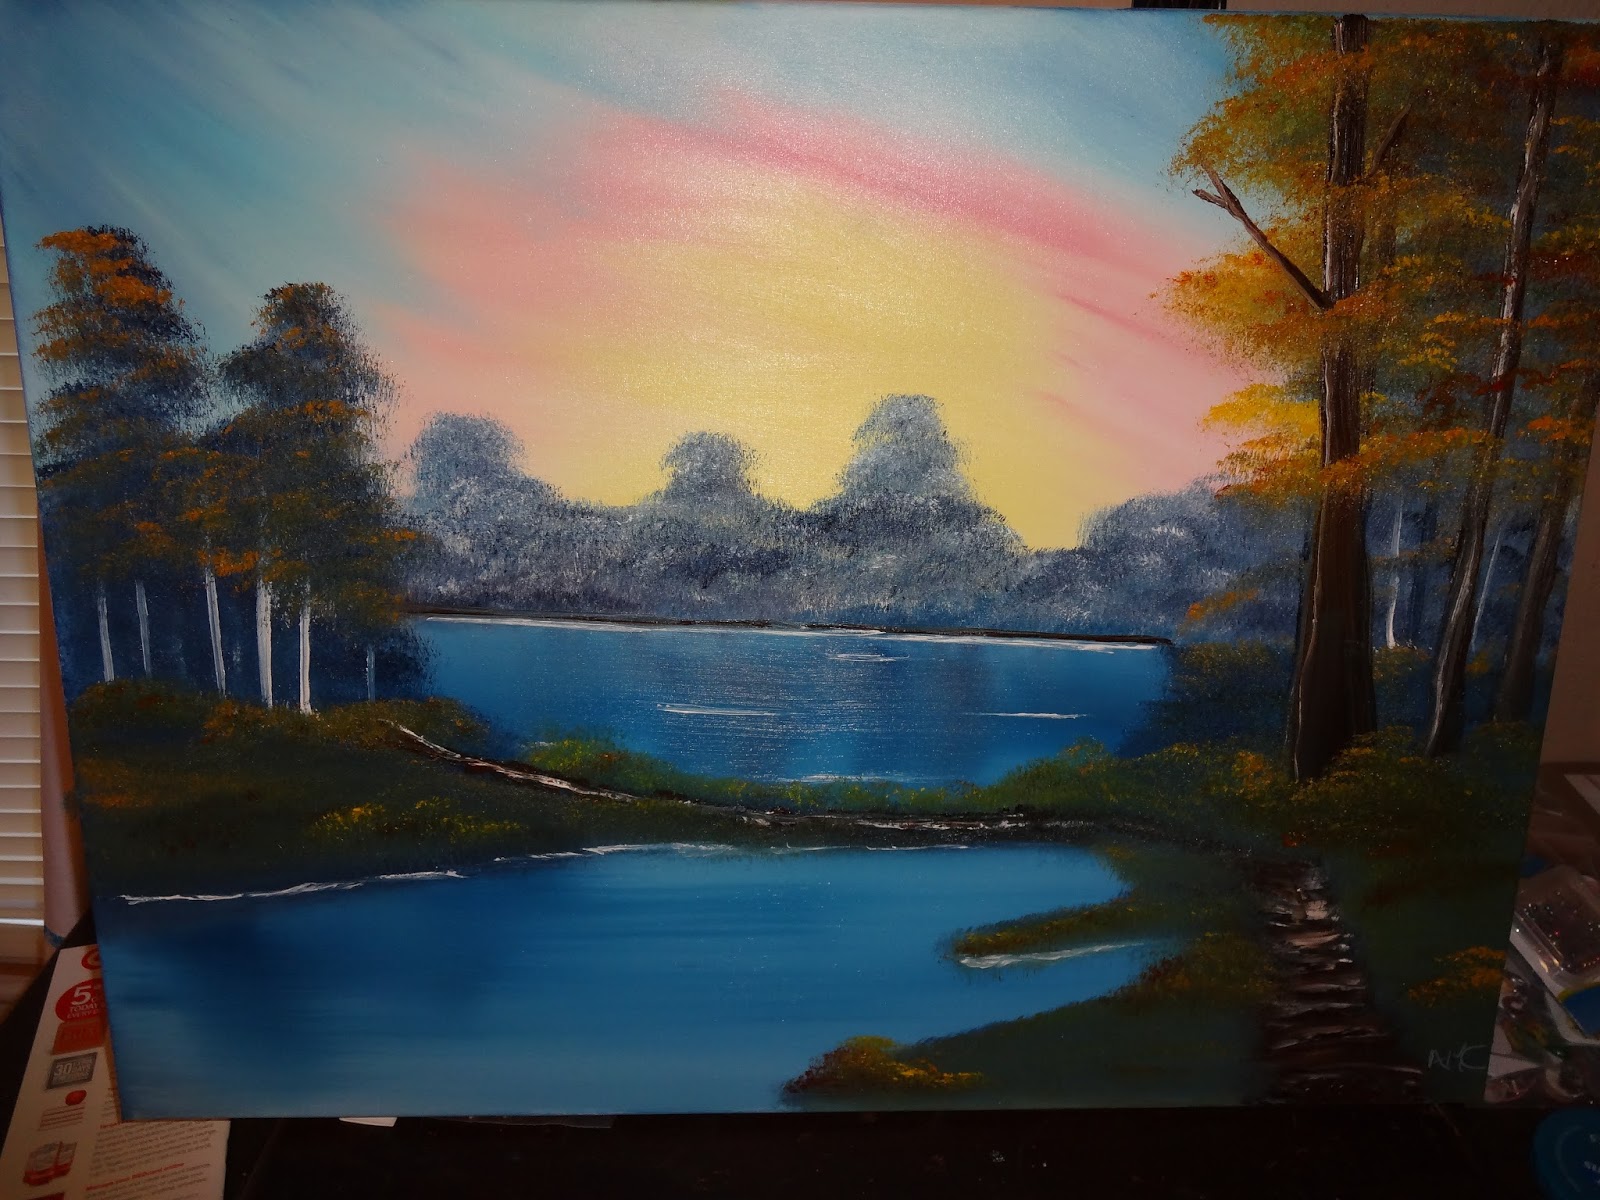
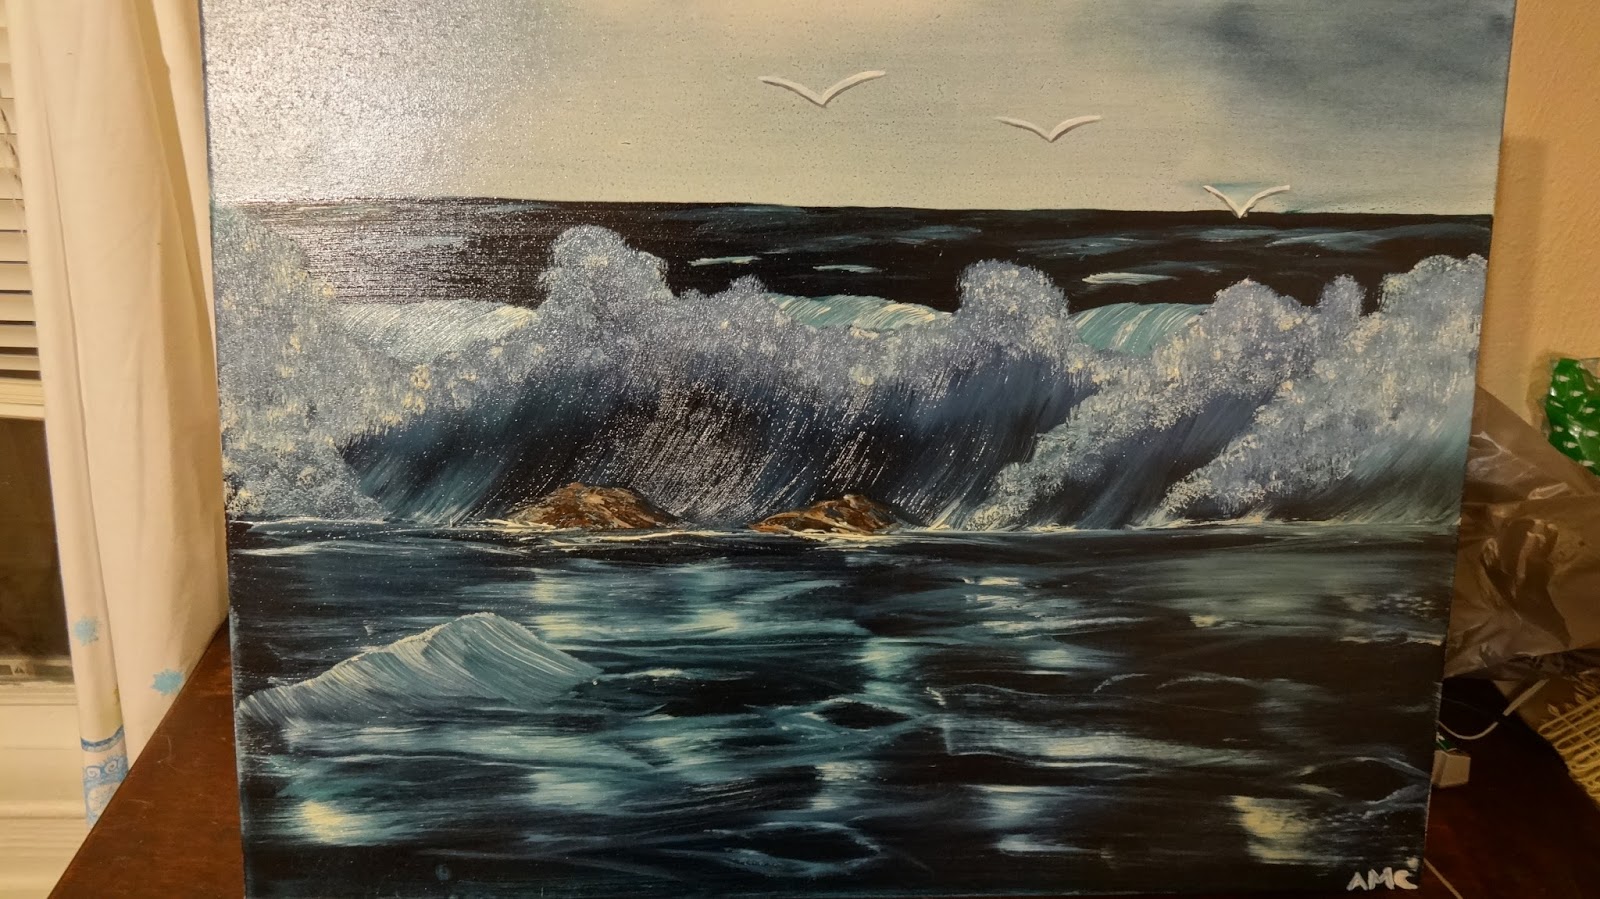
Here are some more photos of oil paintings I've done using the Bob Ross wet-on-wet technique:

This was the first painting I attempted on my own. I used my lovely new paints and brushes that I got as a birthday gift from my wonderful husband. The picture was inspired by one on the Bob Ross website called "Winter Glow." (Full instructions here.) It's not exactly the same; I couldn't paint that cabin for the life of me. I am satisfied with it though, especially as a first lone attempt.
This painting is from my final class with Melody. I desperately wanted to do this painting because I knew that it would make an excellent gift for my mother who loves lighthouses. It turned out fantastic, except that the reflection of the lighthouse doesn't quite line up with the actual lighthouse. (Shh! Don't tell anyone!) I still think it looks awesome, and I know my mother will be pleased.

This painting started out as a seascape for my sister and her husband. However, I messed up the sky quite early on by adding too much yellow. Instead of scraping off all the paint and re-priming the canvas, I decided to roll with the yellowy sky, and this is what I ended up with - a pretty spiffy desert scene. This is a 100% Ashley original, and I like it. Like Bob Ross said, "There are no mistakes, just happy accidents."


 Here is attempt number two at a seascape painting for my sister. You'll notice the sky is much less yellow, and there's water in this one. However, the picture I wanted to paint had a beautiful crashing wave and sand dunes that I just could not get right for the life of me. So I painted some soft swells and called it good. My aunt fell in love with this one, so she's taking it home with her when she comes to visit on Thanksgiving.


This is the third and final attempt at my sister's seascape painting. After watching this video on YouTube, I was able to get that crashing wave down. Fortunately, I also got the dunes right on this one too. It really is just a matter of practice, I think. Trust me, you don't know how many times I scraped off bad waves before I finally got it just how I wanted. Like Bob Ross said, "Talent is a pursued interest. Anything that you're willing to practice, you can do."

And just for fun, I'm going to share this video with you. If you have time, check out the rest of the PBS remix videos. Catch you later!

Saturday, November 23, 2013

A Tribute to Northville in Pictures

Now that the sale of our NY home has concluded, I thought it appropriate to pay homage to the little town that taught me to love snow, New England autumns, and Stewart's ice cream. This was the place where my daughter was born, and my beloved German Shepherd died. I realized a little too late how great a place this was, but I'm glad I got to experience Northville even for a little while.

Our happy home
Great Lake Sacandaga
Fall beauty in town
White Christmases
Snow dogs
Backyard fall fun

Wednesday, November 20, 2013

Halloween as a Troll

At long last, you get to see how our Halloween costumes turned out. This is my daughter and me just before heading down the street for trick or treating.  I'm pretty pleased with how it all turned out. We both got several compliments on our outfits, and a few people even asked to have their photos taken with us. (Not sure what happened during the uploading process that gave this picture a sepia hue, but I assure you it didn't look like this on my camera when we took it.) We forgot to put my little one's crane feet on in this pic, but I'll show one with the feet a little later. I will say that my daughter's costume was probably the simplest, yet most fancy-looking costume I've ever made. The hardest part of putting together her outfit, aside from multiple hot glue burns :(, was sorting through all the feathers I bought to weed out all the ones that were damaged, too small, or not the right shape. After that, it was simply a matter of cutting out the wings, mask, and feet, then attaching feathers, and adding some Velcro to make it wearable. The green leotard was purchased from welovecolors.com/, and the leggings she already had. Going to the bathroom was a little bit of a challenge for her in this costume, but with some careful planning, we were able to avoid any potty-related fiascoes.

 Here's a closeup of the little one's mask. I got the basic idea for the mask from some pictures I found on Photoblog. The beautiful orange biot feathers as well as the dark green feather pads in the photo below were purchased from Kimonos Feathers on Etsy. I highly recommend Kim's shop; the products I got were of great quality, reasonably priced, and they arrived quickly. The wings were inspired by the DIY bird wings on Handmade Charlotte, the only difference was that I used actual feathers on my wings instead of fabric
scallops. For the tail, I basically just cut a teardrop shape out of craft foam and glued on feathers. It's important to note that if you're going to attempt a project like this yourself, you should layer on the feathers starting from the outside and working inward, just slightly overlapping each row of feathers. That way it mimics how a bird's feathers are naturally. Part of the reason I chose to finish off the wings and tail with feather pads was because I felt it made things look even more natural, with the pads acting at the bird's shoulders and rump.

In the picture directly below, you can see a picture of not only my impatient trick-or-treater's sad face at being told to wait, but you can also see the bird feet that I made from craft foam. They had a little strap underneath that slipped through her Velcro shoes to keep the the feet from spinning around on her ankles.
Pretty ingenious, if I do say so myself!

Now, onto my costume. I'll go ahead and apologize for what's probably the worst archery stance in the history of the world. But hey, you can see I finished Rhok'delar! Stay tuned for part two of the tutorial on that, my friends. First of all, you're probably saying, "Hey! That isn't the Amani Mail set you said you were going to make!" You'd be right, it isn't. What it is, is the Brackwater Mail recolor set (although I forgot to wear the bracers and feet, much to my chagrin). I'm still wearing the Pauldrons of the Furious Elements, though, so there! These changes in the costume were made mainly because of the lack of time. If you've been keeping up with my blog, you'll know that I've been busy packing, selling my house, and visiting family all before a big cross-country move. Now, I honestly can't really blame all that, because I started working on this costume in January. The real issue was that all this cropped up after I decided to procrastinate. In the future, I'll be making a post about the lessons I learned while trying to finish this costume last minute. This was my first attempt at a costume project of this magnitude, and while it did turn out nice, it could have been so much better if I'd been working at it all along like I should have been doing. At any rate, hindsight is 20/20, and speaking of vision, let me give you a better look at the individual parts of my costume.

The first picture is one of my bracers (which I'm still kicking myself for forgetting to put on). The details you see here like the metal studs and rings were on each piece of my "armor." At a distance, it looks like studded leather over scale mail. The second picture is of my wig. I'm showing the side view of it, because all the pictures taken of me on Halloween were from the front, and the great styling of this wig went unnoticed because of it. You really couldn't see the braids or the overall shape of the mohawk, which is kind of a shame, 
since Leah's hair is one of my favorite things about her. By the way, if you're wondering how I got the hair to stick up like that, I used Got2B glued spiking gel. It does what it claims to do, and it's not too expensive, so I really can't complain. Word to the wise, it's uber-gross feeling to work with, and I don't think I'd ever put it in my actual hair.


These are my pauldrons, and I am very proud of them. I feel they look just awesome. I can't give a step-by-step tutorial for these since I didn't take pictures throughout the creation process, but I will put up a basic how-to for anyone who's interested in attempting your own cosplay armor. There are some things I'd do differently if I had to do them all over again, but I'll talk about that in a future post.

So there you have it, folks! My transformation into Leah for Halloween was successful. My sis-in-law said we were the talk of the neighborhood, so I guess there's something to be said for that! TTFN! Ta-ta for now!

Monday, November 18, 2013

I Haven't Died

I'm still here! I know you guys are dying to know how my family's Halloween costumes turned out this year, but I'm telling you, I haven't stopped moving long enough to get the photos out into the blogosphere. Since I have a few minutes, let me tell you about what's going on in my life.

Back in April, my husband applied for a new job. It's clear across the country from where we live, but it's better pay, better work, and near our target area for our eventual secluded hobby-farm dream home. Well, months rolled by, and we just assumed that since we hadn't heard anything that he wasn't getting hired. Fast forward to August, and we got a call for him to come interview. In September, he was offered the job. At the beginning of October, my husband headed on out to start his new job and try to find a place for us to live. Meanwhile, I was still back at our old home packing up our stuff to put into storage. The plan was I would store all our stuff and then go stay with our relatives while waiting for my husband to find us a home out there.

Shortly after we got the call for the interview, we also got a call from our real estate agent in NY. The house that we'd been trying to sell for three years finally had an offer. There were negotiations and paperwork aplenty.

Since my daughter and I have been staying with family, we've been constantly running errands and visiting family. It feels like I haven't really had time to catch my breath. At any rate, we're scheduled to move into our new home with my husband in early December. Perhaps then I can rest. Who am I kidding? Christmas is approaching!

Anyway, that's what's been going on with my life. If you don't see me around, I'm probably running around all over creation like a chicken with my head chopped off. However, I promise as soon as I get a minute or two to organize my photos and my thoughts, I will post about Halloween, my paintings, and my craft projects. Until then, tootaloo!

Tuesday, October 1, 2013

Why I Make my Child's Halloween Costumes

A couple of years ago, I started making my daughter's Halloween costumes. When she was one, I made a hat with antennae to go with her off-the-rack  ladybug costume. It got more compliments than the whole outfit. When she was two, I made her a flower costume. Last year, she went as her favorite feline, our cat Pixie. This year, I will be making a green crane costume for her. Making the little one's costumes has become something I look forward to, because it provides the unique challenge of bringing her wishes to life.

Three years ago when I started down this road, I imagined I would save money by doing it all myself. I quickly discovered this was not the case. Often, the cost of materials adds up quickly, especially if fake fur, feathers, or fabric is involved. Then there's the time-suck of making the costume. I tend to spend several hours drafting a plan for the costume, and even more time in the execution. In the end, it would often be simpler if I had just gone down to my local big box store and purchased a ready-made costume.

So why do I do it?

I love my child. Let me clarify: every mom has something she's good at, a unique way to express love to her
children. Some moms bake, some tell great stories, some leave notes in their children's lunch boxes. I happen to be decently creative in a way that allows me to make special costumes for my girl. When I say I hand make Halloween costumes because I love my child, I'm not taking an "I'm a better mom than you because I take the time to do this," stance. If anything, me doing this only glosses over the fact that in other areas, I'm actually a pretty crappy mom. I hope one day it balances out. Perhaps my daughter will look back through our scrapbooks and say, "Look at the time and effort Mom spent making sure that I got to be exactly what I wanted to be each year. You know, Mom might not have been perfect, but at least she cared." For now, pouring my heart into this is one of the best ways I have to show her I love her.

Her costumes are unique. When my girl comes to your door on Halloween night, she won't look like any other child you've seen. Even if she wanted to be a Disney princess or Batman or some other iconic character, her outfit will stand out because I customize it to her. However, it's unlikely that she'll want to be Cinderella or Wonder Woman, because she's wired a bit differently. If all her friends were dressing as Harry Potter characters, she'd want to be a snitch, or the painting of the Fat Lady, or maybe a blast-ended skrewt. Besides, my little one is oddly specific about how she wants her costumes to be. For example, I thought it would be nice if I took a little artistic leeway and gave her a yellow beak for this year's costume, but she matter-of-factly informed me that the crane's beak was grey, and that's exactly how she wants it to be. Last year, when she wanted to be our cat, that included having little pink pads on her hands and feet. When I make her costumes, she can be as detail-oriented and seek as much perfection as she wants, and that's okay, because she does get it honest, after all.

It's extremely satisfying for both my child AND me. I get an enormous sense of accomplishment when I finish a costume. It also makes me happy to see just how excited my little one gets during each stage of the creation. For her it's satisfying because she gets a say-so in the whole process, from concept to completion. As a four year-old, she has a lot of decisions made for her every day. This is something that's all her own, and it makes her very proud.

So that's it then. I encourage you to give it a try sometime. Even if you don't feel like you're the crafty type, there are plenty of fool-proof plans on the internet that can likely inspire you. (Check out my Halloween board on Pinterest for starters!) Watch out though; you might just get hooked!

Thursday, August 29, 2013

Painting Bob Ross Style

It's been quite a while, my lovelies. How have you been? I've been busy! Lots of goings on here, but today I want to tell you about the classes I've been taking.

Four months ago, I stumbled upon a display at the front of my local Hobby Lobby. It featured a large, beautiful seascape oil painting and a few flyers for an art class that was going down at the end of the month. Fortunately for me, the class was happening on a Thursday, right when my little one would be attending preschool, so I decided to sign up. That was three classes ago now, and I haven't looked back. I love oil painting!


I have a wonderful instructor, Melody Panneton. She is certified to teach Bob Ross's wet-on-wet technique (you know, the "happy little trees" guy?), and I'm certain she can help anyone paint something awesome even if they've never held a brush before.


I've painted before, but it's all been self-taught and mostly with craft acrylics. I've learned all about adding depth, how to use a pallet knife, how to paint tree branches, and most importantly, how to step away and leave things alone instead of constantly fussing over my picture.


I find oil painting relaxing, and have decided to take it up as a new hobby at home. My husband has been very encouraging; he recently got me an oil painting starter kit for my birthday. For now, I'll be using painting instruction books for inspiration, but I'm hoping after I get a little more comfortable with my abilities, I'll be able to create my own art.

Well, that's all for this week, my lovelies. Come back soon for some more updates from your happy little painting apprentice!

If you want to see more of Melody's classes, check out her Facebook page and take a look in her albums. I'm pretty sure I'm in one of them!

Tuesday, August 6, 2013

A Tale of Love and Loss: Ashley and the Tacky Mirror

Life has been hectic for me lately! A couple of weeks ago, my husband was contacted about interviewing for a job in Montana. Shortly after that, we had a visit from my parents. Then our real estate agent contacted us about an offer to buy our house that we've been trying to sell for three years. At the moment, we have all sorts of irons in the fire, so no long posts for me today. Instead, I will present you a cautionary tale about procrastination.

While my parents were visiting, my mom requested that we visit the Hobby Lobby in town. Mom loves Hobby Lobby, but she doesn't have one very close to where she lives, so this was a special treat for her. Once inside, my mom, my daughter, and I began strolling the isles on the hunt for treasures. To make room for the Christmas items (don't get me started on that, I don't feel like climbing up on my soapbox tonight), they had put several items on clearance, including several decorative mirrors. It wasn't long before I spotted it - the gaudiest, God-awful mirror I'd ever seen. It was large, oval, and surrounded by ugly brass circles with obviously fake gems in their centers. What was worse, you could just sense the cheapness about it. Boy, I wish I had taken a picture to show you all. I called my mom's attention to it, and together we made fun of how hideous it was. On a whim, I checked the price tag. They had originally wanted $200 for this atrocity, but it had been marked down to only $25.

I began to walk away when I felt a change come over me. Mirrors are pricey, and $25 wasn't a bad price for a mirror that large, even if it was ugly enough to be tried for crimes against humanity. I glanced back. On a second look, I felt the mirror somehow had a kitschy charm to it. Honestly, the mirror's frame had a good shape; it was only the terrible brass and plastic gems that made it unattractive. I said to my mom, "Actually, I think I kind of like that tacky old mirror. You know, you could spray paint that frame and it would probably be pretty nice." She nodded in agreement. However, being my normal thrifty self, I said, "But I don't really need it."

Unfortunately, the more I thought about it, the more I really did want the mirror. After wrestling with the desire for a week, I stopped in to see if the mirror was still there. Alas, it was not. So here's my story's moral - if you really like something on clearance, don't wait! Snatch up that ugly mirror and make it yours!

Catch you next time!

Tuesday, July 9, 2013

Patient Zero

Oh, my lovelies, it's been a long while since I posted for you. I recently caught the plague and have been fighting transformation tooth and nail. Not really, but that's what it felt like. Last Monday night, I began to have a sore throat. By Thursday, I had the full on plague - sore throat, runny and stuffy nose (I have never understood how those two conditions could exist simultaneously, but oh well), weakness, coughing, fever of 102. By Saturday, I was coughing so often that I couldn't really sleep more than a couple hours at night. Medicine did not help. Here it is now Tuesday, and I don't want to jinx it, but I think I might pull through. I'm still coughing, but not as much, and the coughs are productive (just what you wanted to hear today, I'm sure). My nose is still acting up, but I can kind of breath through it again! It may seem ridiculous that a cold almost laid me low, but to be honest, this is the first time that I've actually been truly sick in quite a while.

At any rate, the near week of feeling like the walking death has left me with a mountain of housework to catch up on, so there won't be any bloggy goodness from me for another couple of days at least. Sorry about that, guys. Well, anyway. Catch you later!

Tuesday, May 7, 2013

Sleepy Posting

I'm drowsy blogging today, folks. I stayed up a whee bit too late while gaming last night, then got up a whee bit too early to take my little one to preschool. Bare with me.

A little while back I mentioned sprucing up my front porch, and today, I'm sharing the pics with you. This is what my porch looked like before:

Cute, but not a lot going on. There was only seating for two, and that seating kept blowing over in the wind. Behold, the after:


There's now comfortable seating for at least four, maybe more if people don't mind getting friendly.  Best of all, I now have more storage space, because all of the benches open up. The folding Adirondack chairs have been relocated to the fire pit so we can have a place to sit on bonfire nights. Magically, they've stopped falling over; I guess they didn't really want to be on the porch. I stole some ideas from Pinterest - namely, spray-painting over my old green pillows to match my new blue color scheme, and that little plant stand made from a tomato cage. I also made my own version of that adorable pillow from Etsy using burlap, acrylic paint, and plastic grocery bags as stuffing. See a closeup here:

Now my porch is all ready for lovely spring and summer days. That is, after I wash the pollen off everything!